
In this blog post, we’ll dive into the fascinating world of dried logs, exploring how they transform from moisture-laden timber to the comforting heat that keeps us snug during cold nights.
The Journey Begins: From Tree to Log
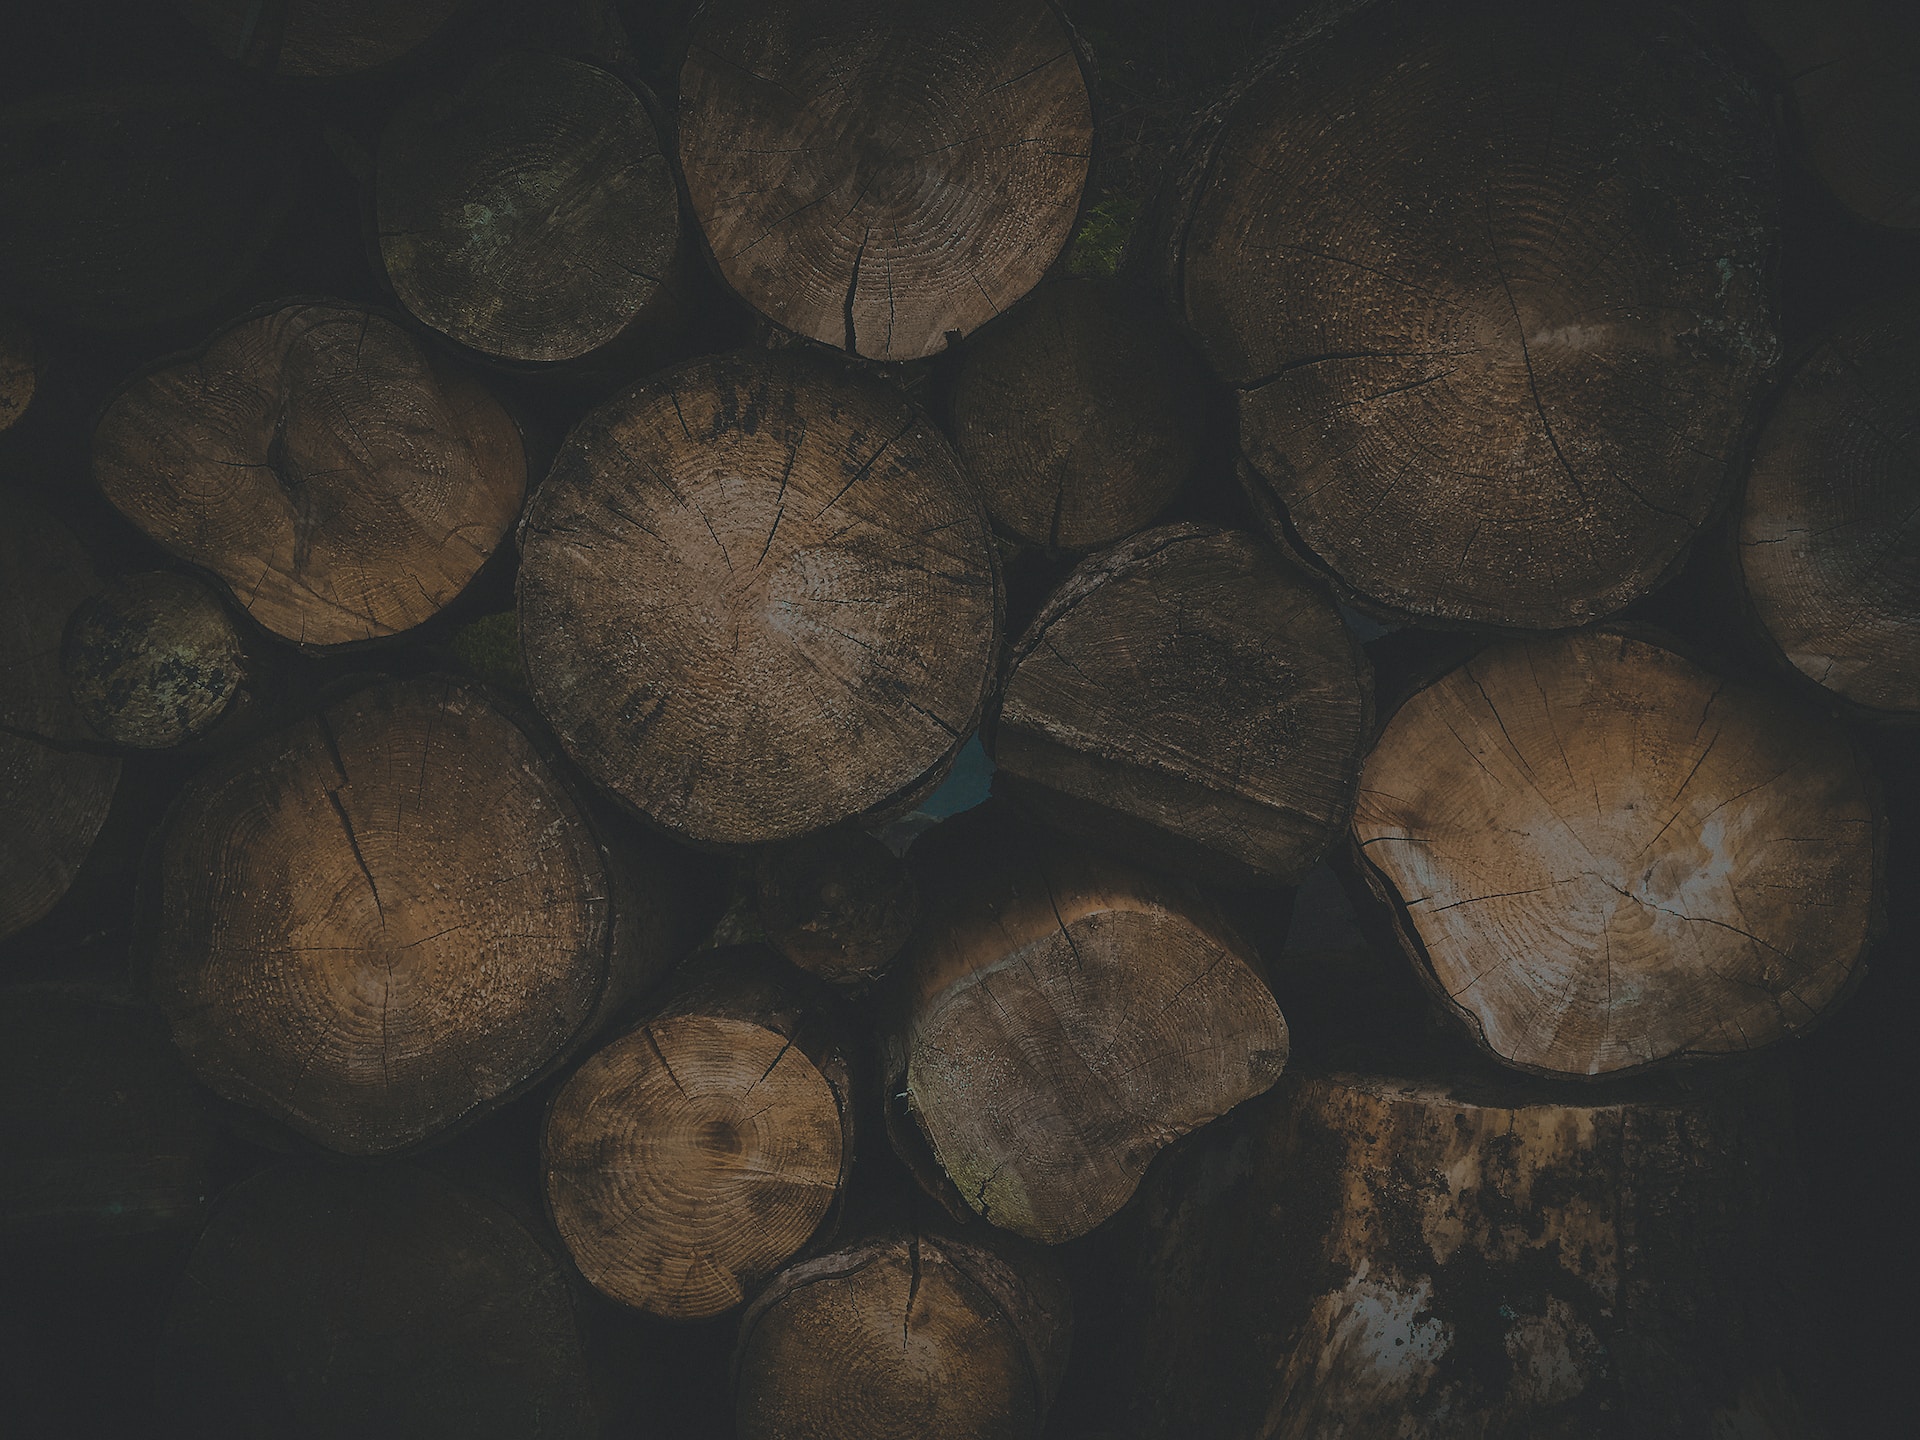
Before we get into the nitty-gritty of dried logs, let’s start at the very beginning – the tree. It all begins with a tree, often a deciduous one like oak, maple, or cherry. Here’s a brief overview of the journey from tree to log:
1. Harvesting: Mature trees are carefully selected and harvested. This process requires skill to ensure minimal damage to the environment and the tree itself.
2. Cutting: Once harvested, the tree is cut into logs of suitable length, typically around 16 inches, making them manageable for firewood.
3. Splitting: Some logs may be too large for use, so they’re split into smaller pieces using specialized tools. Smaller pieces are easier to handle and stack.
4. Seasoning: This is where the magic begins. Freshly cut logs are full of moisture, which needs to be removed to make them suitable for burning. This process is called seasoning.
The Art of Seasoning
Seasoning is a crucial step in preparing logs for the fireplace. It’s all about reducing the moisture content in the wood, as dried logs burn well. Here’s how it’s done:
1. Air Drying
Air drying, as the name suggests, involves letting the logs sit outdoors to naturally lose moisture. Here’s how it works:
– Time: This method takes time, often several months to a year, depending on the type of wood and local climate.
– Stacking: Logs are stacked in a way that allows air to circulate around them. This prevents mold and decay while promoting drying.
– Cover: Logs are often covered to protect them from rain but still allow airflow.
2. Kiln Drying
Kiln drying is a faster, more controlled method that’s often used for commercial firewood production:
– Temperature: Logs are placed in a kiln, a large oven-like structure. Temperature and humidity are carefully controlled to accelerate the drying process.
– Speed: Kiln drying can reduce moisture content in a matter of days or weeks, making it a more efficient option.
Why Dry Logs Are Better
Now that we understand the seasoning process, let’s delve into why dried logs are superior for heating our homes:
1. Efficiency: Logs with lower moisture content burn more efficiently. This means you get more heat for your buck, as less energy is wasted evaporating water.
2. Less Smoke: Wet logs produce more smoke as the water in them turns into steam. Dry logs produce minimal smoke, reducing air pollution and the need for chimney cleaning.
3. Cleaner Burn: Dried logs leave behind less ash and creosote, making maintenance easier and extending the life of your fireplace or wood stove.
4. Consistent Heat: You can count on a consistent and steady heat output from dry logs, allowing you to maintain a comfortable temperature in your home.
5. Eco-Friendly: Using dry logs reduces your carbon footprint since they release fewer greenhouse gases when burned.
Storing Your Dried Logs
Properly storing your seasoned logs is essential to maintain their quality and ensure they’re ready for those chilly nights. Here are some tips:
– Elevate: Store logs off the ground to prevent them from absorbing moisture. A simple log rack or pallets will do the trick.
– Cover: Keep your logs covered with a tarp or woodshed to protect them from rain and snow while still allowing air circulation.
– Ventilation: Ensure good ventilation around your woodpile to prevent mold and decay.
– Accessibility: Store your logs in a convenient location, so you don’t have to trudge through the snow to get them when you need them.
Drying Your Own Logs
If you’re feeling adventurous and have access to fresh logs, you can season them yourself. Here’s a simplified step-by-step guide:
Step 1: Select Your Logs
Choose the type of wood you want to burn. Hardwoods like oak and maple are great choices, as they burn hot and long.
Step 2: Cut and Split
Cut the logs into suitable lengths, usually around 16 inches. Then, split them into smaller pieces if necessary for easier handling.
Step 3: Stack Properly
Stack the logs in a single row or in crisscrossed layers, ensuring good airflow. Place a tarp or cover on top to keep off rain.
Step 4: Wait Patiently
Now comes the hard part – waiting. Let the logs sit for several months to a year, depending on the wood type and local climate.
Step 5: Test for Dryness
You can check the moisture content of your logs using a moisture meter, available at most hardware stores. When the moisture level is around 20% or lower, your logs are ready to burn.
Common Mistakes to Avoid
Seasoning logs may sound straightforward, but there are some common mistakes to watch out for:
– Not allowing enough time: Rushing the drying process can result in logs that still contain too much moisture.
– Poor stacking: Improper stacking can hinder airflow and slow down drying.
– Storing logs directly on the ground: This can lead to moisture absorption from the soil.
– Using green wood: Never burn fresh, green wood, as it will produce excessive smoke and creosote buildup in your chimney.
Final Thoughts
Dried logs are the unsung heroes of cozy winter nights, providing us with the warmth and comfort we crave. Understanding the magic of how they transform from moist timber into a source of heat is not only fascinating but also practical knowledge for any homeowner.
So, the next time you stack logs in your fireplace or wood stove, you’ll have a newfound appreciation for the journey they’ve taken to bring you the warmth and ambiance you love. Happy burning!


Leave a Reply
You must be logged in to post a comment.