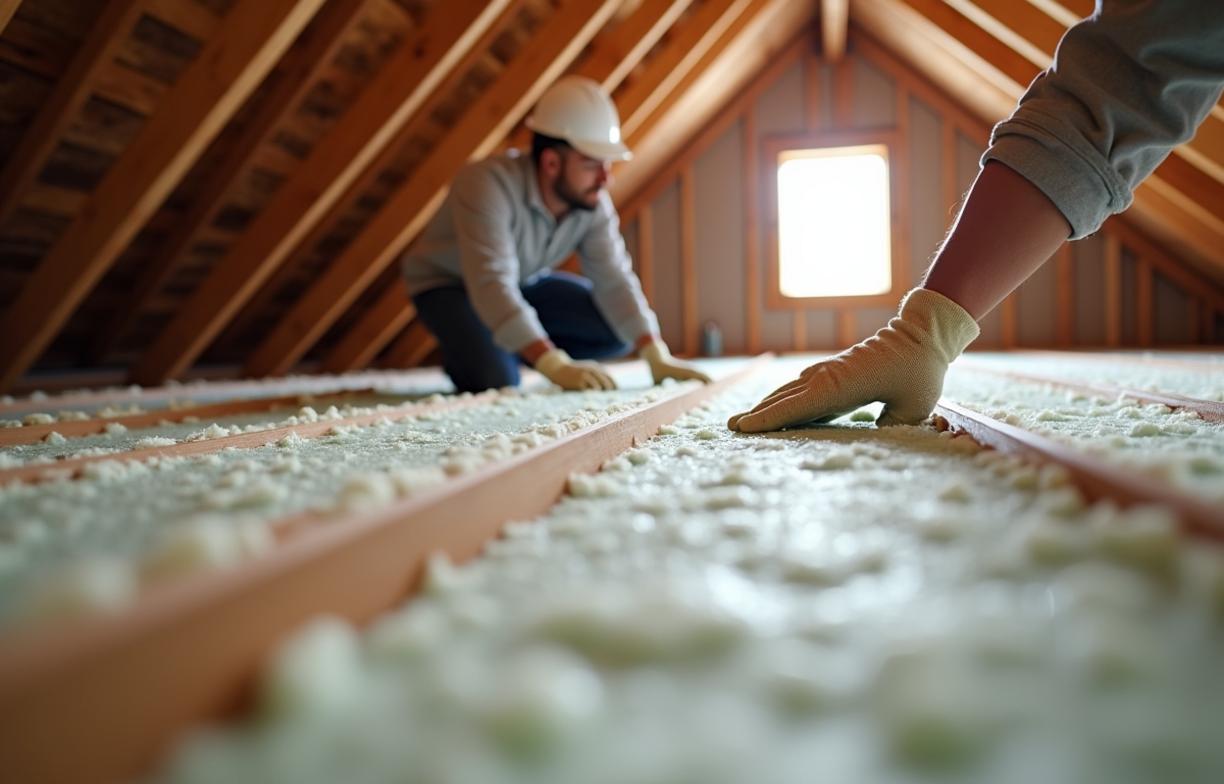
Attic Insulation Upgrades That Cut Heating Bills
A poorly insulated attic can act like an open chimney in winter. Warm air rises, escapes through ceiling gaps, and leaves rooms colder even when the furnace runs longer.
The most effective attic work usually combines air sealing with added insulation. The U.S. Department of Energy says insulation works best when air leaks are sealed first, because moving air can bypass even thick insulation. The goal is not just a higher R-value, but a tighter and more consistent thermal boundary.
Start with the attic conditions that drive heat loss
Before adding material, check the existing insulation depth. In many older homes, attic insulation is only 3 to 6 inches deep. That may be far below current recommendations, especially in cold or mixed climates.
The ENERGY STAR attic insulation guidance recommends about R-38 to R-60 in many northern climate zones. That usually means roughly 10 to 20 inches of loose-fill fiberglass or cellulose, depending on the product. Always check the bag label, because R-value per inch differs by material.
Look for dark streaks in fiberglass batts. These often show air movement through the insulation, not dirt from normal use. Also inspect around plumbing stacks, chimney chases, recessed lights, dropped soffits, and attic hatches.
Moisture matters too. Wet insulation loses performance and may point to roof leaks, bath fans venting into the attic, or poor ventilation. The International Residential Code requires attic ventilation in many vented roof assemblies, often using a 1:150 net free ventilation ratio, or 1:300 when specific balanced ventilation conditions are met.
Air sealing comes before more insulation
Air sealing closes the hidden gaps between the heated living space and the attic. Common leak points include wire penetrations, top plates, duct chases, and gaps around flues. These openings are often small, but together they can equal a large hole.
Use caulk for narrow cracks under 1/4 inch. Use one-part spray foam for wider gaps around pipes and wires. Use sheet metal and high-temperature sealant around metal flues, following clearance requirements printed on the appliance or flue label.
Recessed can lights need special care. Older non-IC-rated fixtures cannot be buried under insulation. They need clearance unless replaced with insulation-contact-rated, airtight fixtures.
A blower door test can measure leakage before and after the work. The Department of Energy’s Weatherization Assistance Program includes a blower-door test in its energy audit to measure outside air infiltration and guide air sealing. Many homes see the best heating reduction from sealing first, then adding insulation.
Pick the insulation type that fits the attic
Blown-in cellulose, blown-in fiberglass, fiberglass batts, and spray foam all work differently. The right choice depends on framing, access, moisture risk, and budget.
Cellulose fills irregular spaces well. It is usually made from treated recycled paper and has good coverage around joists and wiring. It can settle over time, so installers must apply it to the settled depth listed on the coverage chart.
Blown-in fiberglass is lightweight and common in open attics. It resists moisture absorption better than cellulose, but wind washing near soffit vents can reduce performance if baffles are missing. Proper attic insulation upgrades often include vent chutes before new loose-fill is installed.
Fiberglass batts can work in simple attics with standard joist spacing. They perform poorly when compressed, cut loosely, or laid over uneven old insulation. Spray foam can air seal and insulate at once, but it changes the attic design and must be installed with strict moisture and ignition-barrier details.
Which option fits which situation
| Situation | Best fit | Key condition |
|---|---|---|
| Open attic with many gaps and low insulation | Air sealing plus blown cellulose | Existing insulation is dry and not moldy |
| Open attic with good ventilation and easy access | Air sealing plus blown fiberglass | Wind baffles protect soffit areas |
| Simple attic with empty joist bays | Fiberglass batts | Batts fit snugly with no compression |
| Finished attic or roofline insulation project | Spray foam | Roof assembly moisture plan is reviewed first |
| Attic with knob-and-tube wiring | Specialist evaluation first | Do not bury active knob-and-tube wiring |
For many vented attics, loose-fill insulation gives better coverage than batts. It wraps around obstacles and reduces gaps at joists. Batts are more sensitive to installation quality.
If the attic floor is already flat, open, and dry, blown insulation is often the simplest upgrade. If the attic includes living space, knee walls, or sloped ceilings, the work becomes more detailed. Knee walls need insulated wall cavities and an air barrier on the attic side.
Aim for the right R-value, not just more inches
R-value measures resistance to heat flow. Higher R-values slow heat loss, but only when the insulation is installed correctly. Compressed batts, gaps, and air leaks reduce real performance.
The North American Insulation Manufacturers Association publishes R-value and installation guidance for fiberglass and mineral wool products. Product labels list the installed thickness needed to reach each R-value. For loose-fill products, bags also list coverage per square foot.
In cold climates, many attics should reach R-49 or higher. In warmer mixed climates, R-38 may meet the target. The exact recommendation depends on the climate zone, not the nearest big city.
Do not block soffit vents while adding depth. Install baffles at each soffit bay where airflow is needed. Keep insulation pulled back from chimneys and heat-producing fixtures according to code clearances.
Check depth with simple markers
Depth rulers help verify coverage. Many installers staple cardboard or plastic rulers to joists before blowing insulation. They should be visible above the finished surface.
Loose-fill material should look even across the attic floor. Low spots near eaves, platforms, or ducts can become cold zones. Raised service platforms may be needed if equipment must remain accessible.
Protect ducts, hatches, and problem areas
Attic ductwork can waste a lot of heat. Leaky supply ducts blow warm air into the attic, while return leaks can pull cold attic air into the system. Seal metal duct joints with mastic, not cloth “duct tape.”
Duct insulation should be continuous and tight. In unconditioned attics, ducts commonly need at least R-8 insulation under many energy codes. Crushed or torn duct wrap should be repaired before new attic insulation covers the area.
The attic hatch is another weak spot. Weatherstrip the perimeter and attach rigid foam to the back of the hatch. The hatch insulation should be close to the surrounding attic R-value, but it must still open safely.
Bath fans must vent outdoors, not into the attic. Warm, moist air can condense on cold roof sheathing in winter. Use insulated duct for long fan runs through cold attic space.
Plan the work around safety and timing
The best time for attic work is usually mild weather. Attics can exceed 120°F in summer, and winter work can expose air leaks clearly. If snow melts unevenly on the roof, that may show heat loss from below.
Wear a respirator rated for fine particles, gloves, eye protection, and long sleeves. Step only on framing or stable platforms. Ceiling drywall cannot safely support body weight.
Older homes may need testing before disturbance. Vermiculite insulation may contain asbestos, especially material from the former Libby, Montana mine. The U.S. Environmental Protection Agency advises treating suspect vermiculite as asbestos-containing unless testing proves otherwise.
Professional air sealing and loose-fill attic work is often completed in one day for a typical single-family home. Complex attics with ducts, recessed lights, knee walls, or old insulation removal may take two to four days. If removal is needed because of pests, sewage contamination, or major moisture damage, fix the cause before adding anything new.